In this quick guide, you will learn how to process an RFI by answering to a questionnaire and send it to the requesting company.
Step 1: Login to FUTURA Smart
You will receive an invitation to each new RFI by e-mail. Click on the button "View RFI".
Example of an invitation:
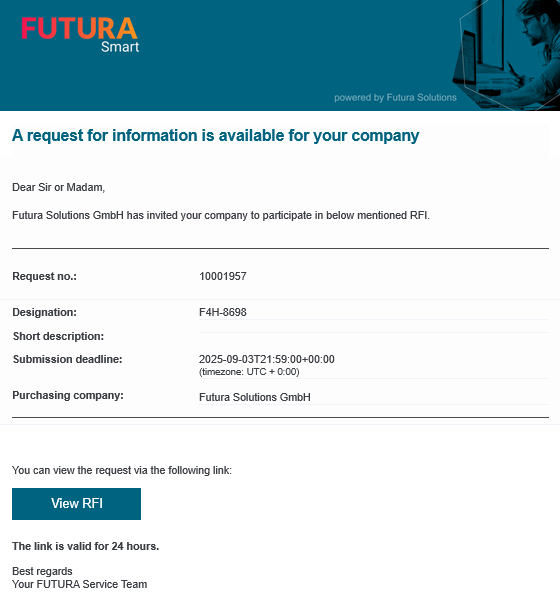
Click on the “View RFI” button.
If your company has been created as a new supplier for a RFQ and the purchaser has also enabled the use of "Easy Access", you will receive a "Magic Link" for the direct login to FUTURA Smart with the invitation to the RFQ. In this case, clicking on the button "View RFQ” will take you directly to the FUTURA Smart dashboard (home page), where you will receive an overview of all RFQs that have been assigned to your company. You can see whether a "Magic Link" is included in the invitation with the additional information below the button. The use of the magic link will skip the login with e-mail address and password and you can continue reading from step 2.
Login with a registered user:
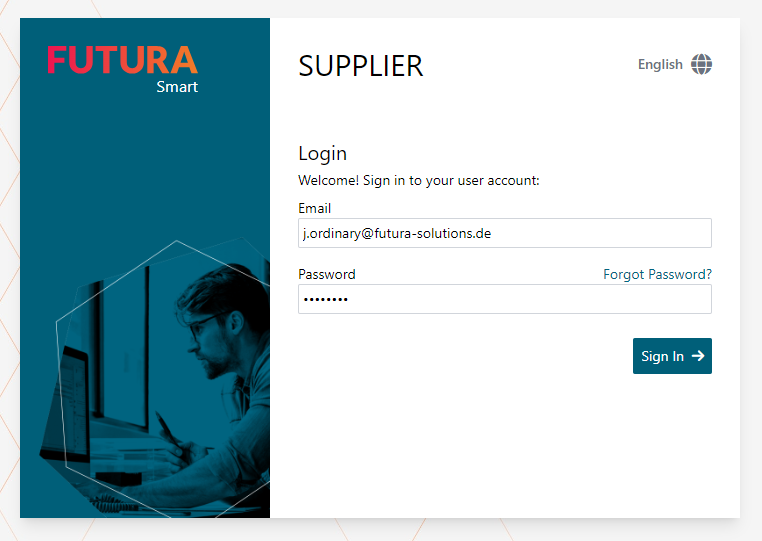
After clicking on the “View RFI” button, you will see the login page for FUTURA Smart.
Now log in with your known access data. You will need the e-mail address with which you registered as a user (the company e-mail address on file cannot be used for logging on) and the password. With "Sign In" you will be directed to the dashboard.
Step 2: Select an RFI
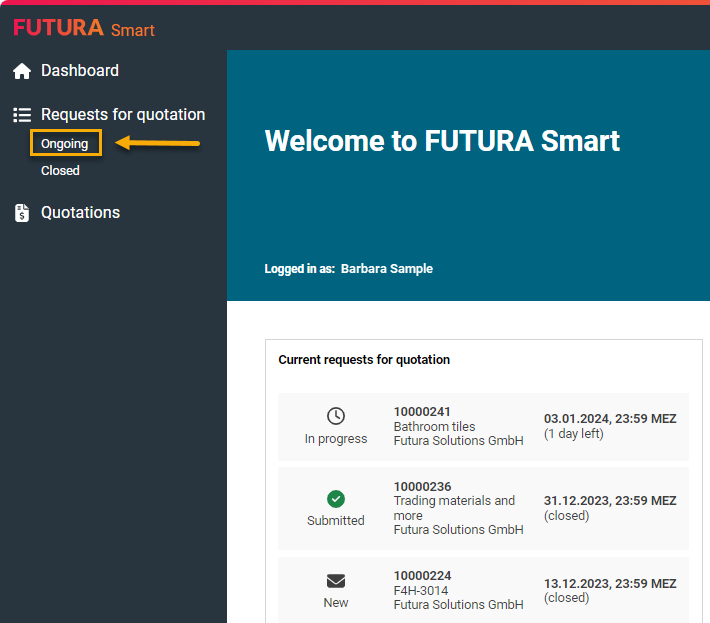
On the dashboard on the left, you can open the list of RFIs by clicking on RFIs → Ongoing":
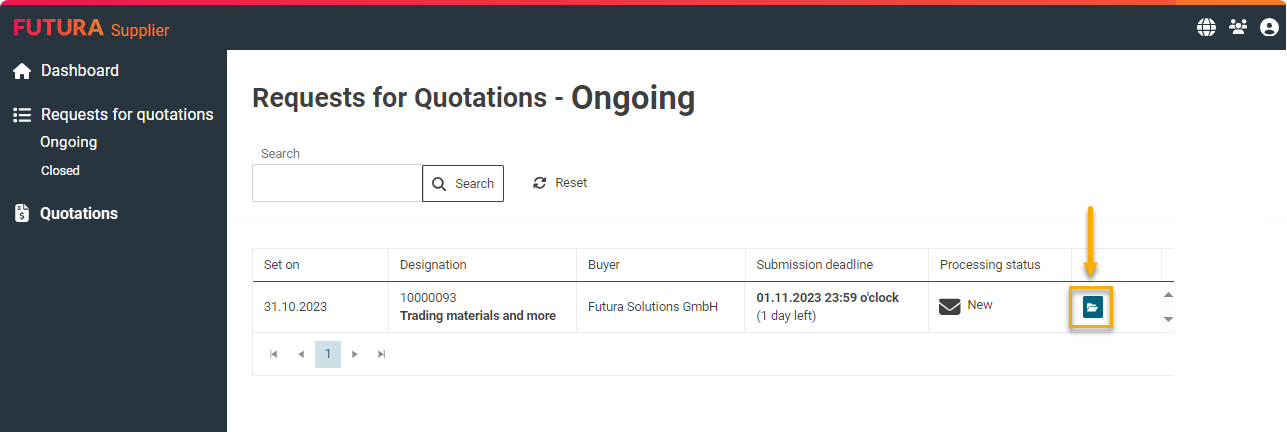
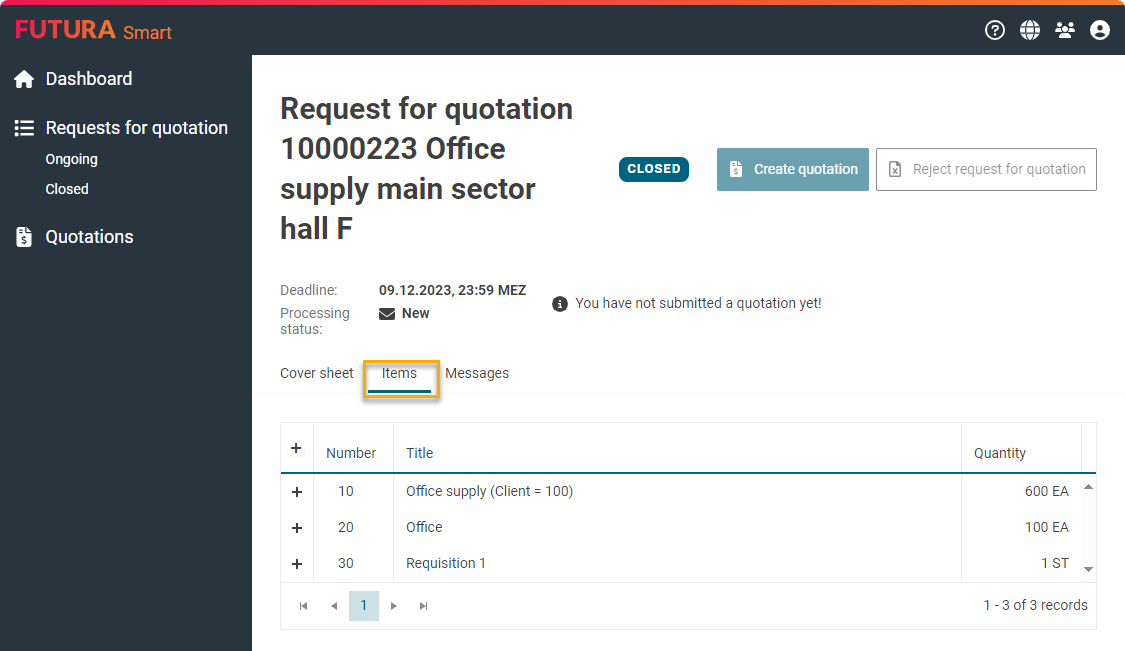
Select the desired RFI by clicking on it once or by opening it with the envelope button on the right:
RFI with confirmation required documents
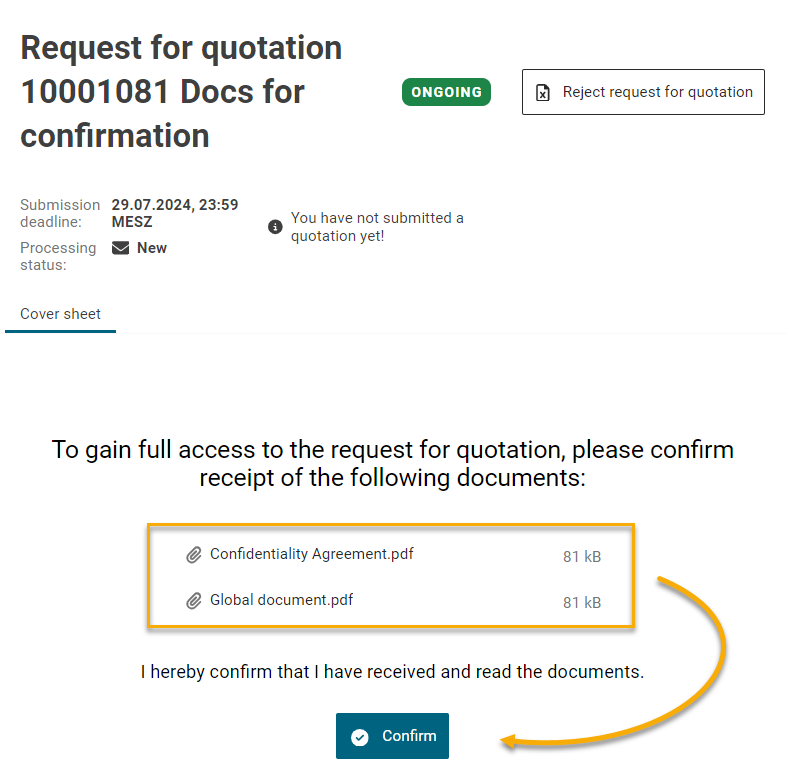
For each request, the purchaser may have declared documents, of which the receipt must be confirmed in advance so that you can fully access the content of the request.
If documents with subject to confirmation are part of the request, then these will be displayed to you right after opening the RFI and with a corresponding hint on the cover sheet.
If there are no documents requiring confirmation in the request, the entire content will be displayed right away. In this case, you can continue reading from here.
In the list, you can click and download these documents. Depending on the settings of your browser, the documents are also displayed directly in a separate browser tab.
RFI without confirmation required documents
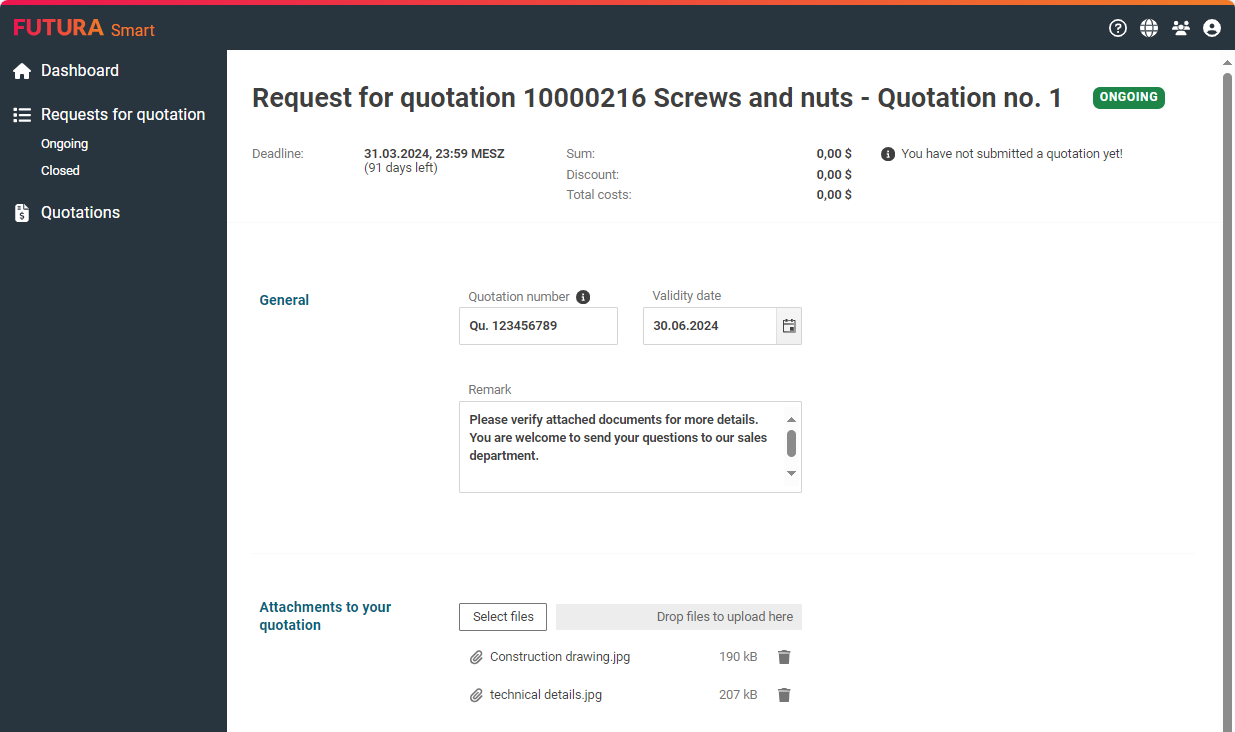
The RFI will then open and you will be on the cover sheet. On the cover sheet you will find general information about the request, including which deadline was set for it:
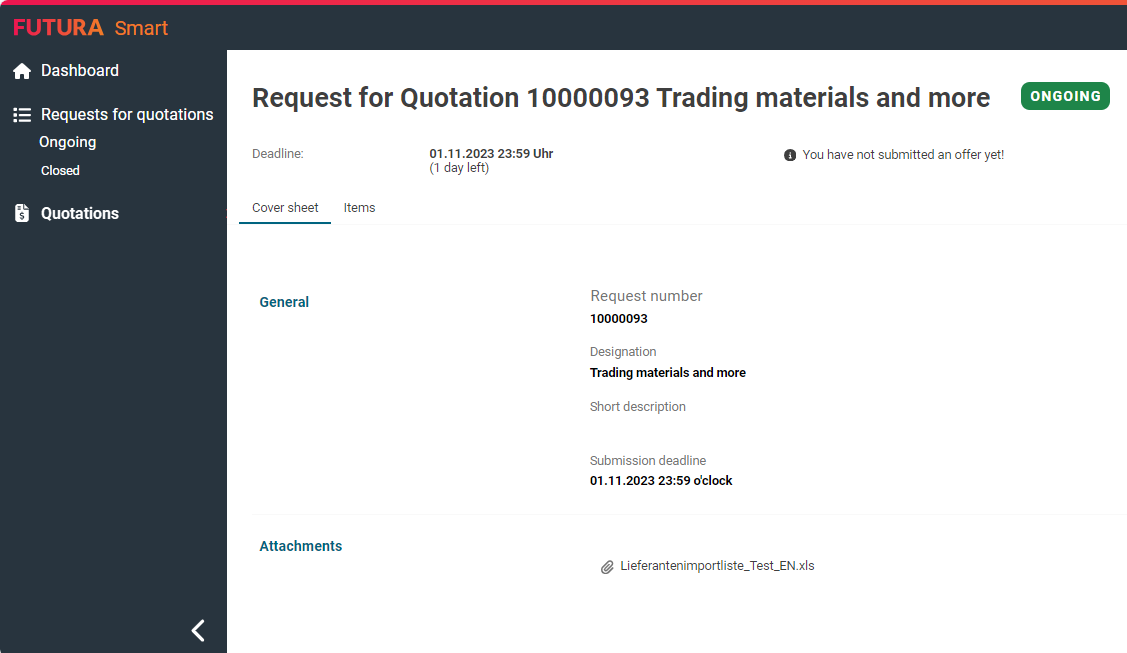
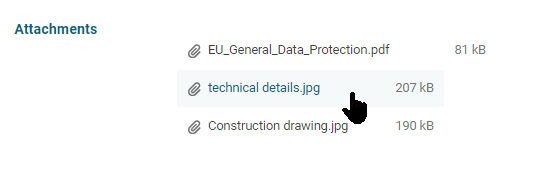
At the bottom of the cover sheet you can find the attachments to the request if the purchaser has provided any.
Step 3: View questionnaire
The "Questionnaire" tab contains the complete questionnaire issued by the purchaser.
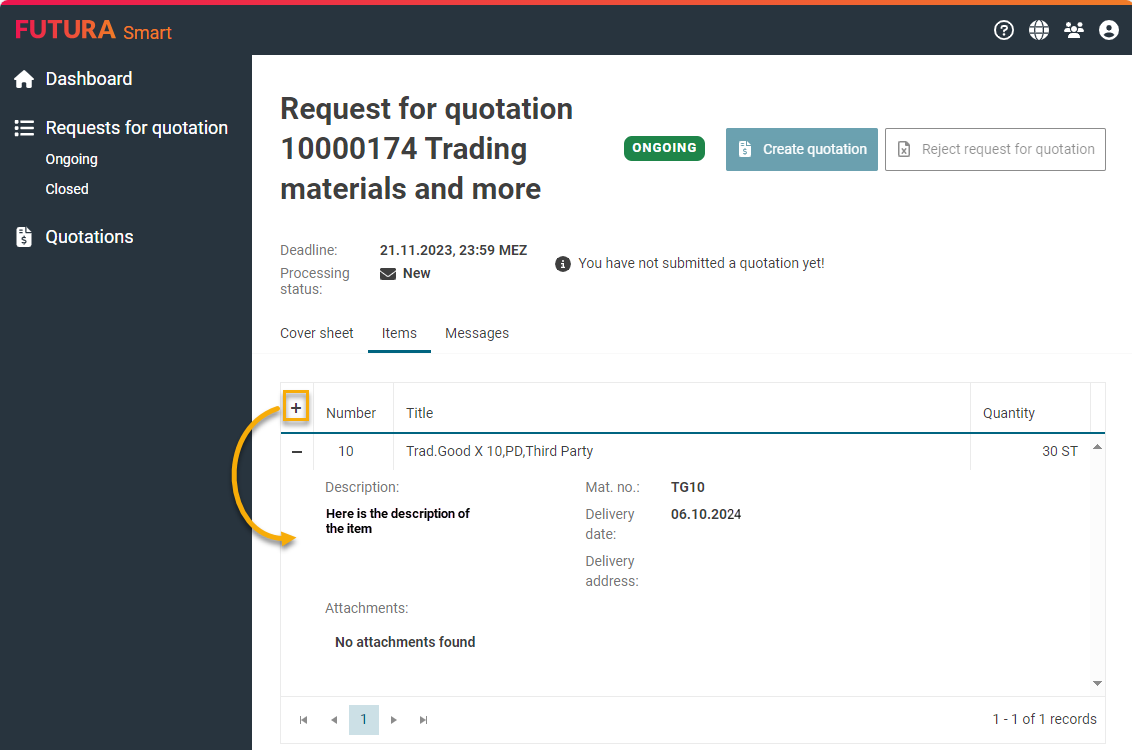
With the plus and minus buttons to the left of the items, you can display the details. This includes the description (long text), any other attachments, etc.
Step 4: Create a response
To create a response, click on the "Create response" button which is available in every tab of the request:

Once you have clicked on the "Create response" button, the questionnaire is in progress. The "Create response" button is then inactive and cannot be used again. If you leave the RFI and would like to continue working on the response to the questionnaire later, for example, please return to the "Responses" tab in the RFI and click on the data record that has already been created or use the envelope button on the right to open it again.
While you prepare your response, an input mask for all relevant information is available. Here you can now enter your answers to the questionnaire and upload attachments to individual answers as needed.
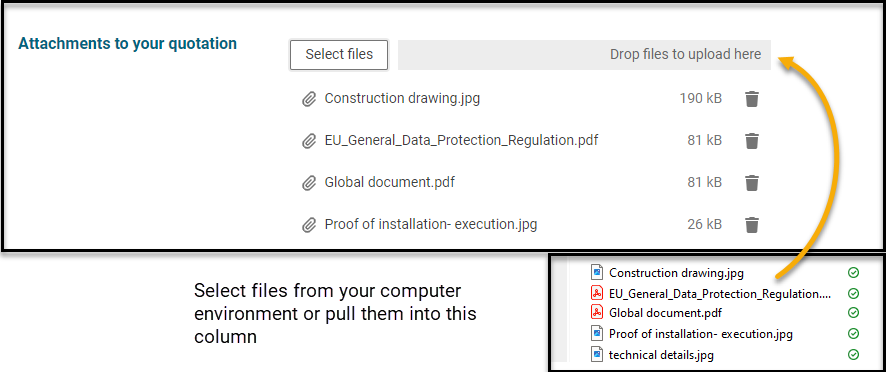
Uploading attachments to the response
You can upload your response documents in the "Attachments to your response" section. To do this, please click on the "Select files" button or select and drag your attachments from the storage location of your PC and save them under "Drop files to upload here".
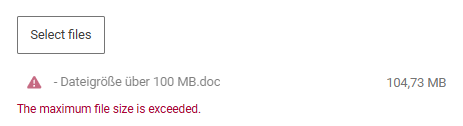
Maximum file size of attachments for the upload to the response
The maximum total size for uploading attachments is 100 MB per file. However, you can upload several files up to this maximum size.
If your file exceeds the total size, you will be informed accordingly.
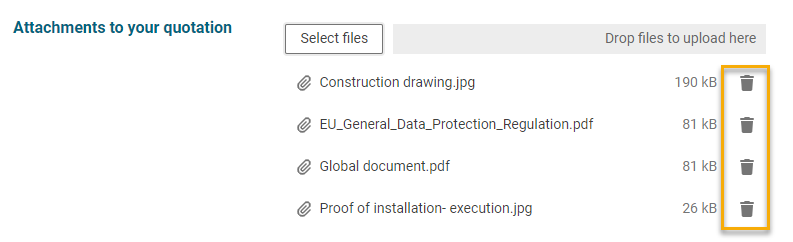
Removing attachments
You can use the recycle bin button to the right of each of your uploaded attachments to remove attachments.
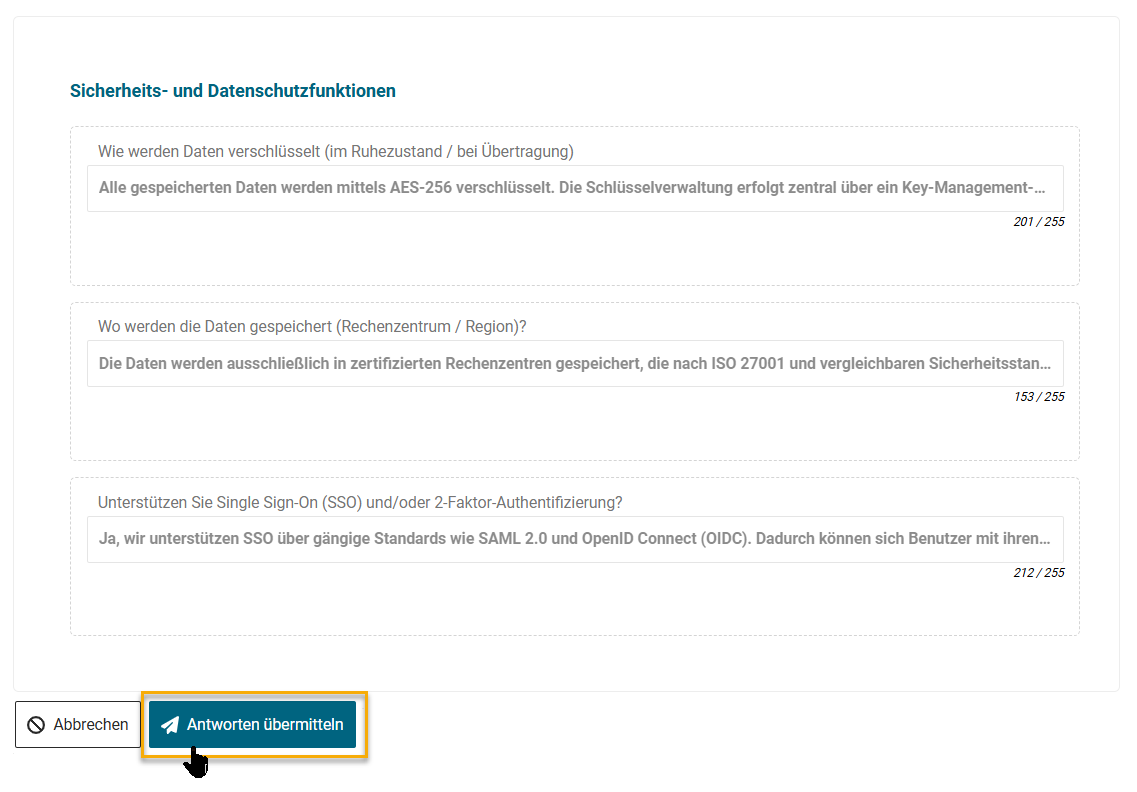
Step 5: Submit response
If the answers to the questionnaire are complete, you can send them, including your answer documents, to the client using the "Submit response” button under the item list:
Finally, confirm the submission of your answers:
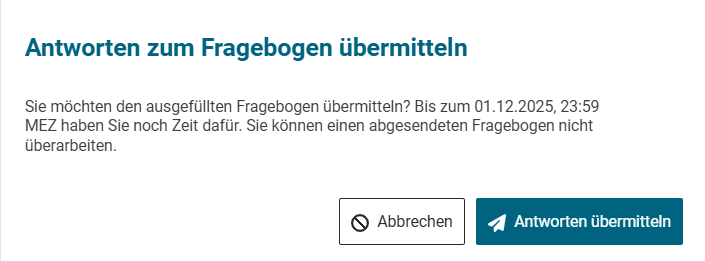
You will receive a short confirmation that the response has been sent to the requesting company:

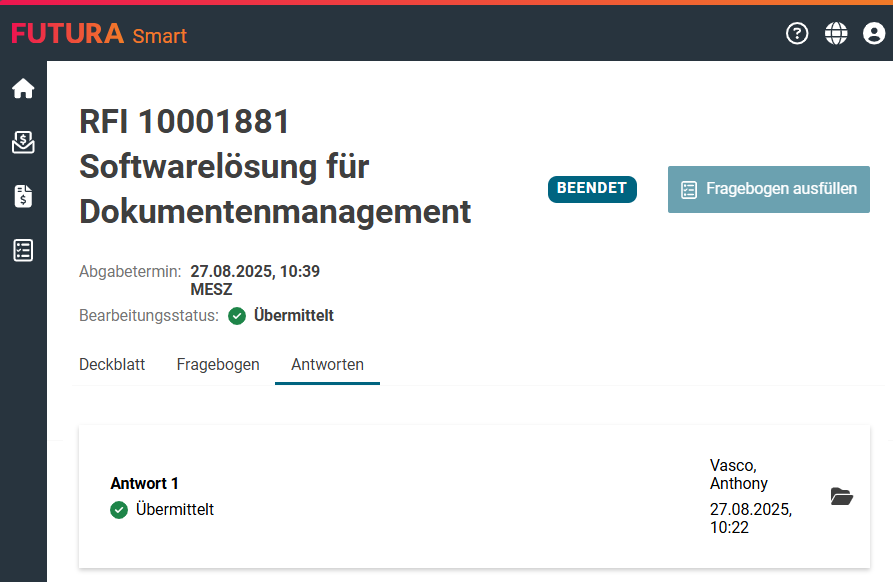
A successfully submitted response has a status of Submitted.
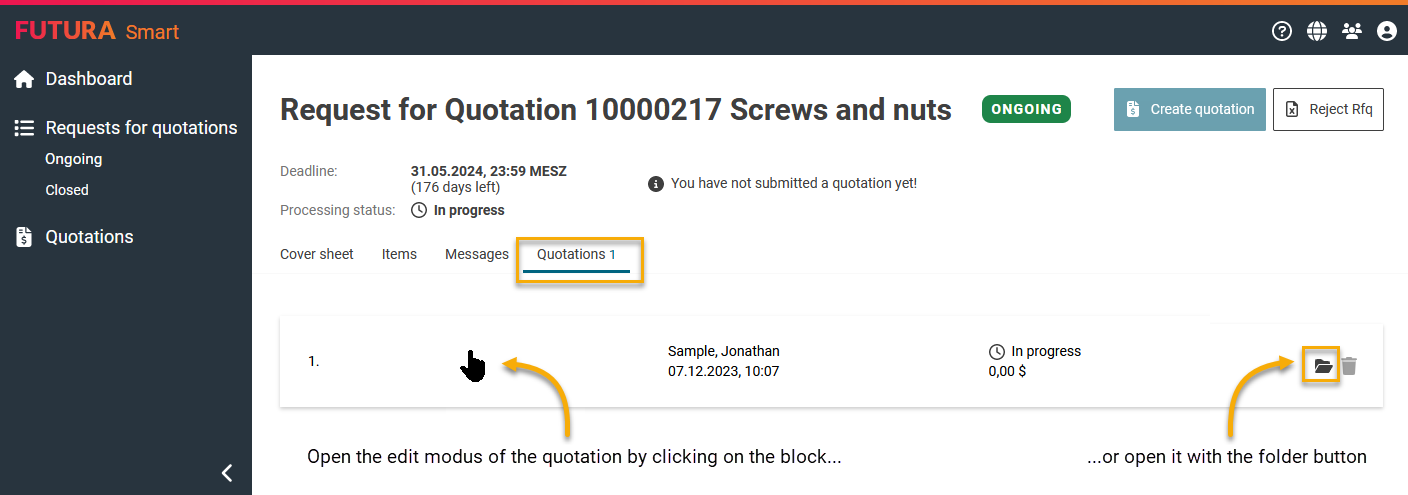
You can view your response at any time, even after the deadline. To do this, open the RFI again, switch to the "Response" tab and click on the button with the folder or directly on it.